How to Hide Drives in the Explorer… (With all software installed in that drive still working)

Hide Drives in Windows Explorer but also making them available for software which run or take reference from it. Can be accessed using Command Prompt.
Note: Does not works with Home Premiums and Home Basics
To Hide Drives with Group Policy Objects in Windows, there is a “Hide these specified drives in My Computer” option that lets you hide specific drives. However, it may be necessary to hide only certain drive, but retain access to others.
There are seven default options for restricting access to drives. You can also add other restrictions by modifying the “System.adm” file for the default domain policy or any custom “Group Policy Object (GPO)“.
The seven default selections are:
- Restrict A, B, C and D drives only
- Restrict A, B and C drives only
- Restrict A and B drives only
- Restrict all drives
- Restrict C drive only
- Restrict D drive only
- Do not restrict drives
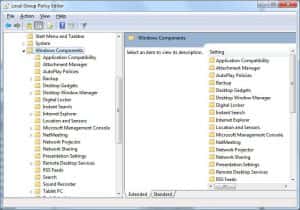
Method 1
- Open Run and Type “gpedit.msc”


2. Then open “Administrative Templates” under “User Configuration”
3. Open “Windows Components”
4. Click “Windows Explorer” under “Windows Components”Advertisement
5. Select “Hide These Specific drives in my Computer”
6. Finally Select “Enable”
7. Select the Drives you want to restrict from “Pick one of the following combination” drop-down…
8. Enjoy…(Click Here to Read Step-by-Step Guide to Understanding the Group Policy Feature Set)